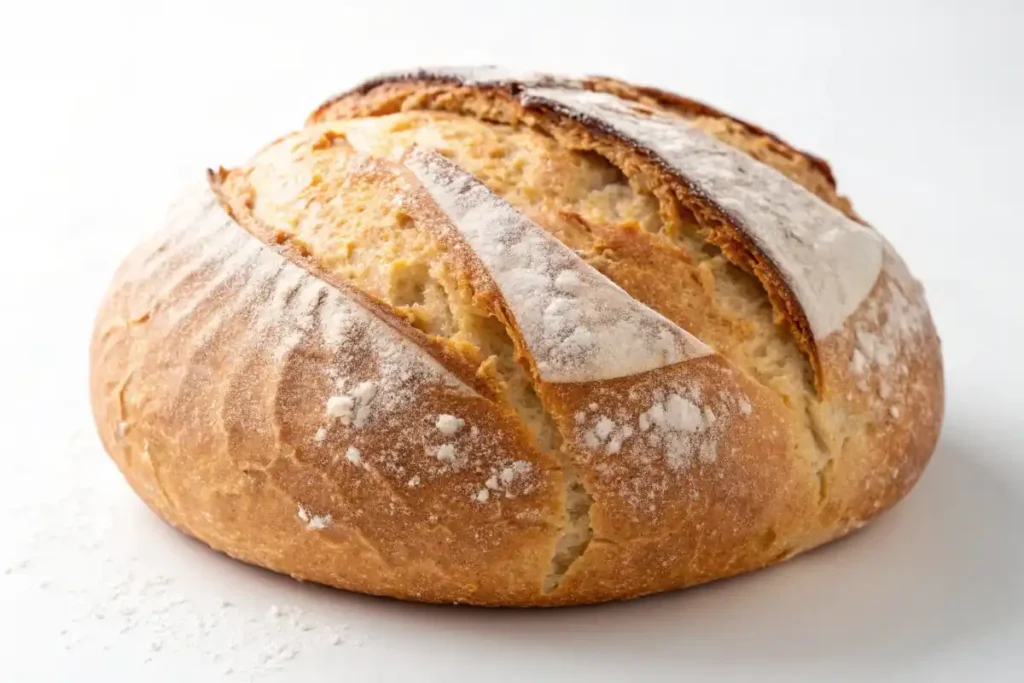
Craving gluten free sourdough bread? Learn how to make delicious, airy loaves at home with our simple guide. Get ready to bake!
The Magic of Gluten Free Sourdough bread
Many believe making gluten free sourdough bread is a challenge. However, with the correct techniques, you can bake amazing loaves. It’s about understanding the unique nature of gluten-free flours. We’ll guide you through each step of the process. This way, you can make bread with great flavor and texture.
What Makes Gluten Free Sourdough Unique?
Traditional sourdough relies on gluten. Gluten is what gives bread its structure and elasticity. Gluten free flours do not contain this. Therefore, making gluten free sourdough requires different methods. We need to use starches and gums to replace the gluten. This gives our bread structure and a great texture. Gluten-free baking is a bit different. Therefore, following the right steps makes all the difference.
Recipe: Gluten Free Sourdough Bread
Yields: 1 loaf
Prep time: 30-45 minutes (plus starter creation time)
Rise time: 3-6 hours total
Bake time: 45-50 minutes
Ingredients:
For the Gluten Free Sourdough Starter (if starting from scratch):
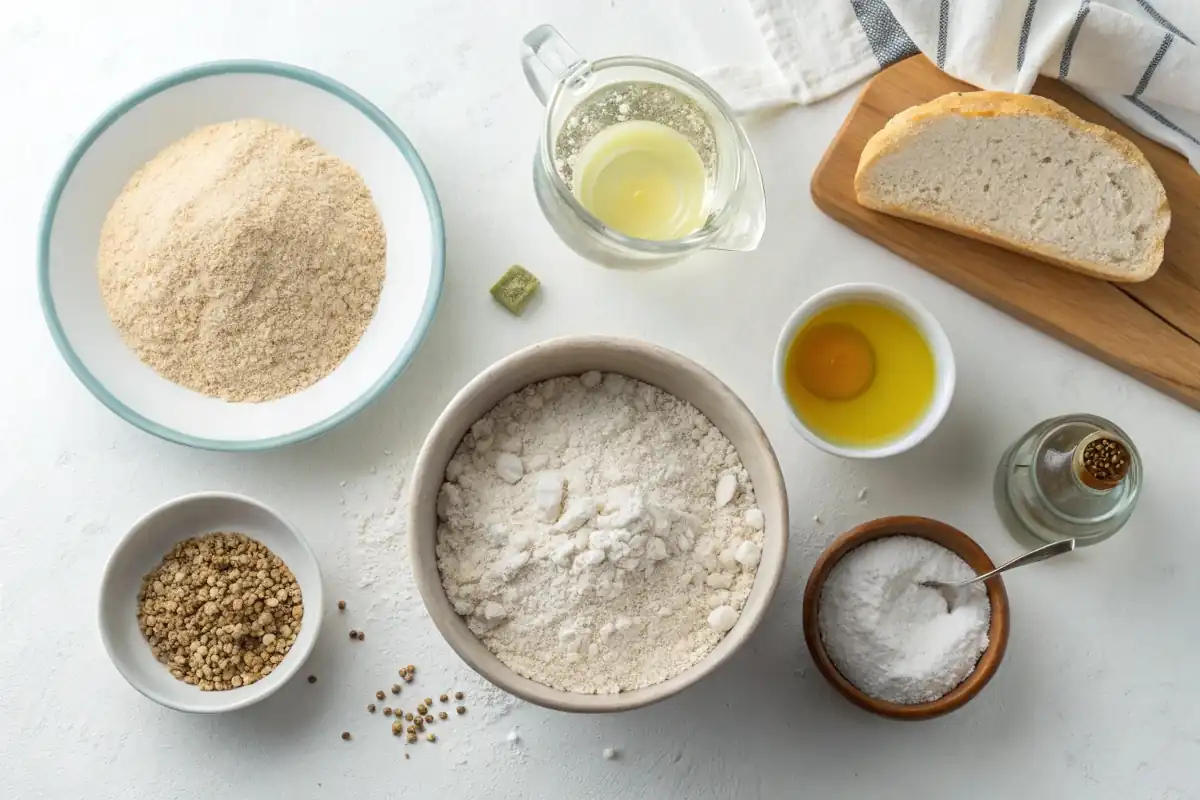
- 50 grams gluten-free flour blend (see notes below)
- 50 grams filtered water
(Note: For an established, active starter you will need approximately 100 grams of active starter for the recipe. If using from the fridge, allow it to activate before using, as described in the article)
For the Gluten Free Sourdough Bread Dough:
- 300 grams gluten-free flour blend (see notes below)
- 10 grams psyllium husk powder (or 5 grams xanthan gum)
- 8 grams salt
- 300 grams warm water (approximately 100-110°F/38-43°C)
- 100 grams active gluten-free sourdough starter (fed and bubbly)
Equipment:
- Large mixing bowl
- Small mixing bowl
- Measuring cups and spoons
- Clean glass jar for starter
- Banneton basket (or similar bowl lined with a cloth)
- Dutch oven with lid
- Parchment paper (optional)
- Sharp knife or lame
- Wire rack
Detailed Step-by-Step Instructions:
Phase 1: Creating Your Gluten Free Sourdough Starter (if needed)
If you have an active starter already, skip to Phase 2.
- Combine the Ingredients: In a clean glass jar, mix 50 grams of gluten-free flour blend with 50 grams of filtered water. Ensure all dry flour is mixed in. The mixture should have a thick batter consistency, like pancake batter.
- First Rest: Cover the jar loosely with a lid or clean cloth. This allows airflow while preventing it from drying out. Let it sit at room temperature.
- Daily Feeding (for 1-2 weeks): Each day, discard about half of the starter mixture. You can throw it away, or use it in another recipe, like pancakes!
- Add Fresh Food: Add 50 grams of fresh gluten-free flour and 50 grams of filtered water. Stir well. The goal is to feed your starter with an equal ratio.
- Continue the Cycle: Repeat steps 3 and 4 daily for one to two weeks. Keep going until you see bubbles and a sour smell. These indicate that wild yeast is developing, and your starter is becoming active.
- Test Your Starter: Once your starter reliably doubles in size a few hours after feeding, it is ready to use. This can take a week or two. The starter should be bubbly and smell pleasantly sour.
Phase 2: Making the Gluten Free Sourdough Bread Dough
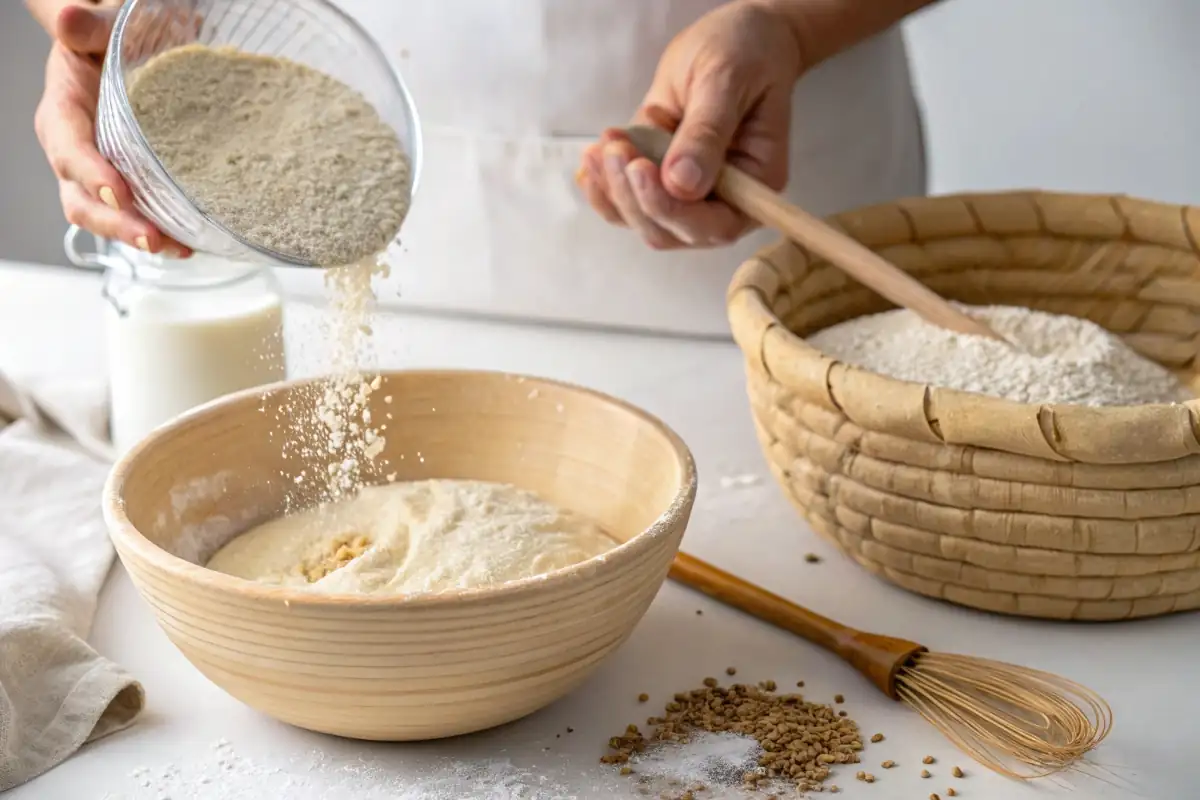
- Combine Dry Ingredients: In a large mixing bowl, combine 300 grams of the gluten-free flour blend, 10 grams of psyllium husk powder (or 5 grams xanthan gum), and 8 grams of salt. Whisk all the dry ingredients to ensure they are evenly mixed.
- Combine Wet Ingredients: In a smaller bowl, mix 100 grams of your active gluten-free sourdough starter with 300 grams of warm water. Mix these two ingredients together using a spoon or a whisk until the starter is evenly dispersed.
- Combine Wet and Dry: Pour the wet ingredients into the bowl with the dry ingredients.
- Mix the Dough: Mix the ingredients using a spatula or your hand. Mix until a sticky dough forms. The dough will look rough and shaggy at first, but it will smooth out as the psyllium husk or xanthan gum hydrates.
- Rest: Cover the bowl with a damp cloth or plastic wrap and let it rest for about 30 minutes. This allows the psyllium husk or xanthan gum to fully activate. It will also hydrate all the flour.
Phase 3: Shaping the Dough and First Rise
- Prepare Your Surface: After the dough has rested, lightly flour your work surface with gluten-free flour.
- Shape the Dough: Gently remove the dough from the bowl and place it onto the floured surface. Using lightly floured hands, gently shape the dough into a round or oblong shape. Be gentle when handling the dough.
- Place in Banneton: Lightly flour your banneton basket (or a bowl lined with a cloth). Carefully place the shaped dough inside.
- First Rise: Cover the banneton with a cloth. Let it rise in a warm place for 2 to 4 hours, or until puffy and noticeably increased in size. This is called bulk fermentation. It may be necessary to leave it a little longer, depending on the temperature.
Phase 4: Baking the Gluten Free Sourdough Bread
- Preheat the Oven: About 30 minutes before baking, place your Dutch oven (with its lid) inside your oven. Preheat your oven to 450°F (232°C). This ensures that the Dutch oven is very hot.
- Prepare the Dough: Gently remove the hot Dutch oven from the oven (using oven mitts!). If you are using parchment paper, carefully place it at the bottom.
- Flip the Dough: Gently flip the dough from the banneton into the hot Dutch oven. If you used parchment paper, grab the sides to lift the dough and place it carefully. The dough should now be sitting on the parchment or the hot surface of the Dutch oven.
- Score the Dough: Using a sharp knife or lame, make a clean cut on the top of the dough. The cut can be a simple slash, a cross, or any pattern you like. This helps control how the bread will expand.
- Bake with Lid On: Cover the Dutch oven with its lid. Place it back in the oven and bake for 25 minutes. This will create a steamy environment.
- Bake Without Lid: Carefully remove the lid from the Dutch oven. Continue baking for another 20-25 minutes. This will allow the crust to get golden brown and crispy.
- Cool the Bread: Carefully remove the Dutch oven from the oven. Take the gluten free sourdough bread out of the Dutch oven, and place it on a wire rack to cool.
- Cool Completely: Allow the bread to cool completely before slicing and eating. This can take a few hours. Slicing while it’s still warm can result in a gummy texture. Cooling helps to set the crumb of the bread.
Important Notes:
- Gluten-Free Flour Blend: The choice of flour blend is very important. Use a commercial blend that has a mix of both starches and flours. Or, use a mix that contains flours such as rice flour, tapioca starch, sorghum flour and/or millet flour, for example.
- Starter Activity: A very active starter is essential for a good rise. This can take time. Feed your starter regularly.
- Adjust Hydration: The amount of water needed can vary depending on your flour blend. If the dough seems too dry, add a bit more water. If it’s too wet, add a little more flour.
- Patience is Key: Baking gluten free sourdough takes practice. Don’t be discouraged if your first loaf isn’t perfect. The flavor will still be great
Enjoying Your Homemade Gluten Free Sourdough
Your fresh gluten free sourdough bread is versatile. There are many ways to enjoy it. Here are some ideas:
Serving Suggestions
- Make a classic sandwich with your gluten free sourdough. Add your favorite fillings.
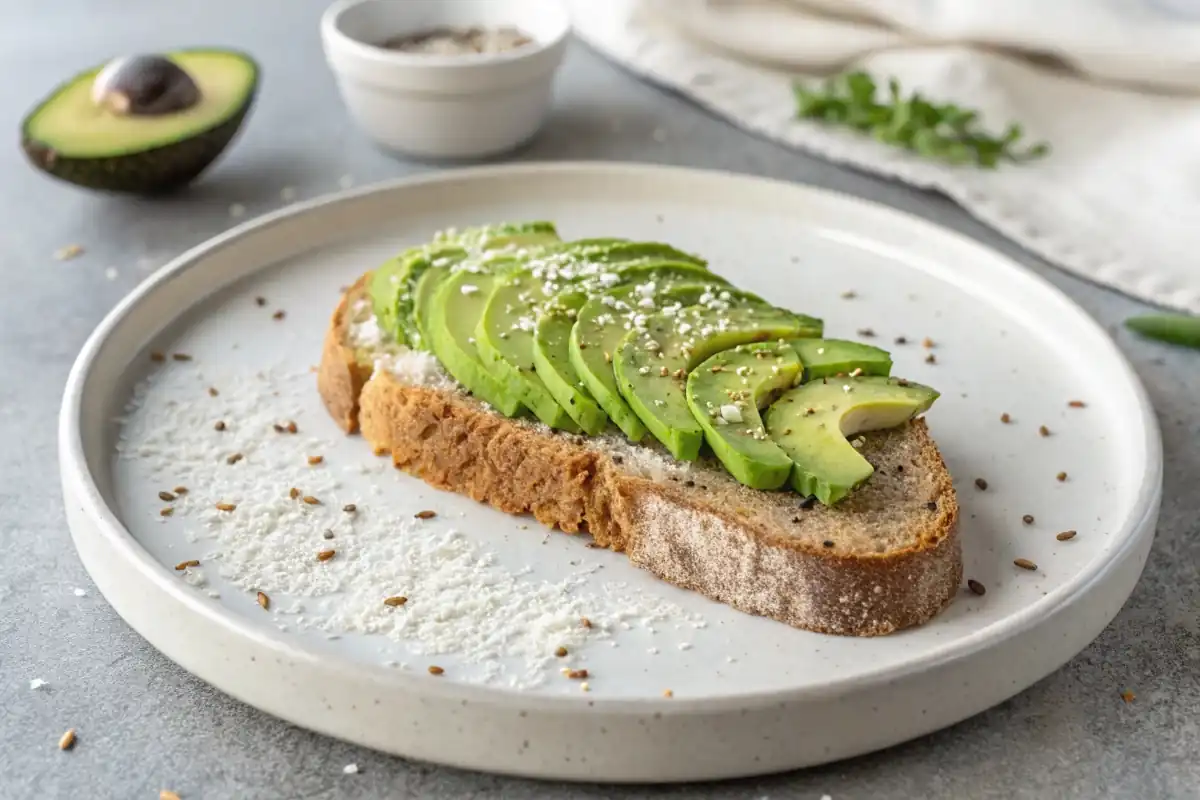
- Toast slices and top with avocado and a sprinkle of salt.
- Use it as a base for a delicious grilled cheese.
- Serve with soups or salads. It makes a great side dish.
- Turn it into croutons to use in your favorite salads.
Storage Tips
- Store any leftover bread in an airtight container. This keeps it fresh.
- Freeze sliced bread for later use.
- Reheat slices in the toaster or oven to restore their crispiness.
The Health Benefits of Gluten Free Sourdough
Gluten free sourdough bread, like regular sourdough, has some health benefits. Here’s what you need to know:
Easier to Digest
Sourdough fermentation helps break down some complex compounds. This can make it easier to digest for some people. Additionally, it’s often better for those with sensitive stomachs.
Lower Glycemic Index
Compared to some other types of bread, gluten free sourdough may have a lower glycemic impact. This means it won’t raise blood sugar as quickly. This can help keep your blood sugar more stable.
Nutrient Availability
Fermentation can enhance the availability of some nutrients. These are absorbed more easily. This is because the process helps break down some of the substances that inhibit absorption.
Variations of Gluten Free Sourdough
Once you master the basic recipe, feel free to try some variations. Try these to make your gluten free sourdough bread even more special:
Adding Flavor Enhancements
- Add herbs like rosemary or thyme to the dough.
- Mix in seeds like sesame or poppy.
- Add a touch of garlic powder for savory flavor.
- Include dried fruit for a slightly sweet taste.
- Use different gluten-free flours for different results.
Creating Different Shapes
- Try making rolls instead of a loaf.
- Shape the dough into a baguette.
- Make a braided loaf for a beautiful presentation.
Unique Flavor Pairings
- Try pairing gluten free sourdough with goat cheese and honey.
- Enjoy it with smoked salmon and dill cream cheese.
- Use it in a bread pudding for a unique twist.
Making gluten free sourdough bread at home is a rewarding experience. With a bit of patience, you can make tasty, wholesome loaves. Enjoy the fresh aroma of homemade bread.
Advanced Techniques for Gluten Free Sourdough Baking
Taking your gluten free sourdough bread to the next level involves mastering advanced techniques. These can enhance flavor, texture, and overall baking experience.
The Art of the Autolyse
Autolysing is a technique where you mix just the flour and water together. Let the mixture rest for a period. This allows the flour to fully hydrate. Consequently, this will improve the dough’s texture. It also helps with gluten development (even without gluten in this case). This results in a more open crumb and better overall rise.
- Combine your gluten free flour blend and water in a bowl.
- Mix until just combined, there should be no dry flour.
- Cover the bowl with a towel.
- Allow it to rest for 30 to 60 minutes.
- Continue with the recipe adding starter and other ingredients.
Cold Fermentation for Enhanced Flavor
Cold fermentation, or bulk fermentation in the refrigerator, allows the dough to develop more flavor over time. This slower process creates more complex flavors. It also improves the structure of your gluten free sourdough bread.
- Mix all ingredients together.
- Let the dough rise at room temperature for a short period.
- Place the dough in the refrigerator for 12 to 24 hours.
- Take the dough out of the fridge and continue with the shaping and baking steps.
Understanding the Importance of Scoring
Scoring the dough before baking is more than just decorative. It allows for proper expansion. This helps the bread rise correctly. Additionally, it prevents large, random tears in the crust.
- Use a sharp knife or lame.
- Make a clean and deliberate cut on top of the dough.
- Experiment with different patterns to control the expansion.
Using a Dutch Oven for Optimal Crust
A Dutch oven is perfect for baking gluten free sourdough bread. It creates a steam-filled environment. This ensures the crust will be beautifully crisp. It also helps the crumb to be soft and airy.
- Preheat the Dutch oven with the oven.
- Place your dough carefully inside.
- Bake with the lid on.
- Remove the lid toward the end to allow browning.
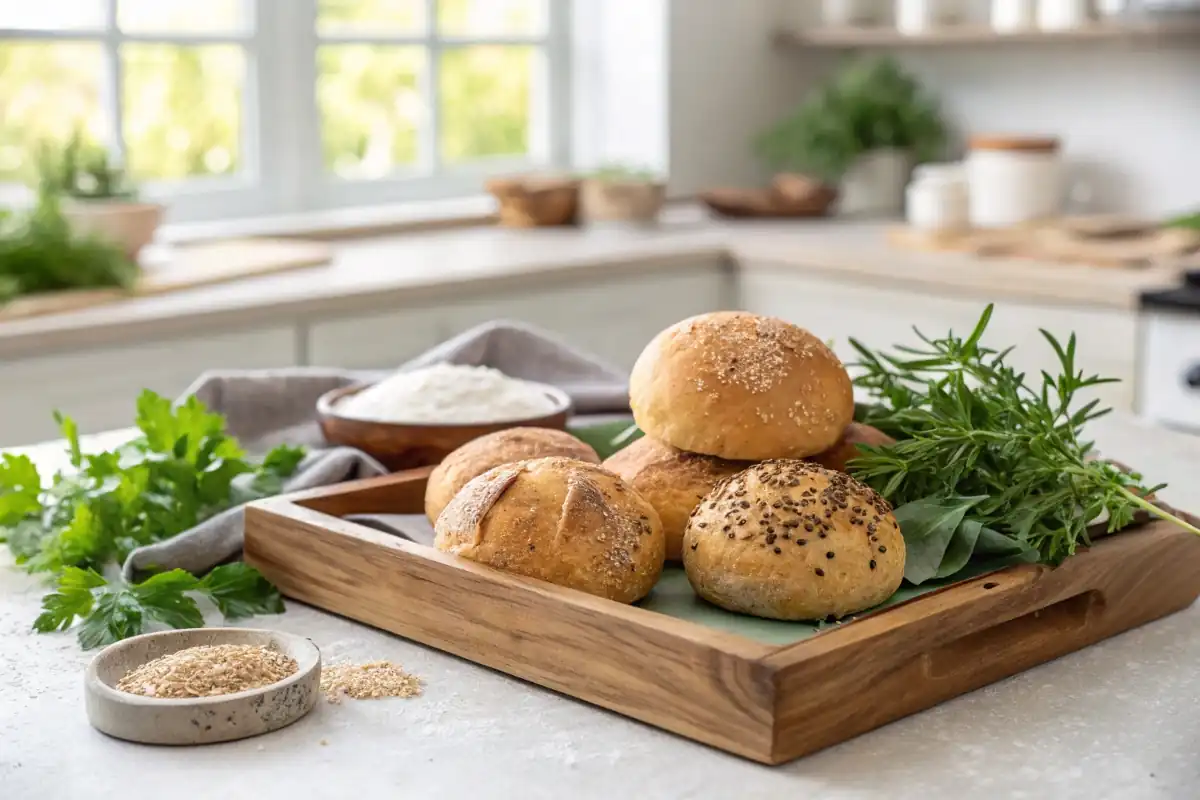
Exploring Different Gluten Free Flours
Understanding the characteristics of different gluten free flours is essential. Accordingly, this will help you achieve the texture and flavor you want. Here are some of the main flours:
Rice Flour
- Rice flour is a common gluten-free flour. It has a mild flavor and works well in blends. However, it can sometimes be a little grainy, so it’s good to mix it.
Tapioca Starch
- Tapioca starch adds a chewy texture to gluten-free bread. Furthermore, it helps to bind ingredients together. It is used often in gluten free recipes.
Sorghum Flour
- Sorghum flour has a slightly sweet and nutty flavor. Moreover, it’s great for adding color and some substance to your gluten-free bread.
Oat Flour
- If you are not sensitive to oats, oat flour adds a soft texture and mild flavor. However, be sure it is certified gluten free.
Buckwheat Flour
- Buckwheat flour brings a rich, earthy flavor to gluten free sourdough. It can be overpowering if used in large quantities, so use it carefully.
Almond Flour
- Almond flour can be a good addition if you want more texture and a slightly nutty flavor. It can make the texture a little more dense, so add it sparingly.
Gluten Free Sourdough bread for Different Diets
Gluten free sourdough bread is very versatile. It can be adapted for different dietary needs. Consider these ideas when baking.
Making it Vegan
- Traditional sourdough is naturally vegan. Use only plant-based ingredients for the dough. Ensure the starter is vegan-friendly, as well.
Low Carb Options
- While sourdough itself has carbohydrates, using certain low carb flours (such as almond flour in small quantities) can help lower the overall carbohydrate level. However, be aware it will change the texture.
Adapting for Allergies
- Always check the packaging of each ingredient. Therefore, you avoid cross-contamination issues. If you are baking for someone with specific allergies, ensure you take special care. Specifically, watch for ingredients that might cause a reaction.
Conclusion
Making gluten free sourdough bread is a rewarding experience. It allows you to have delicious, safe bread at home. With these instructions and tips, you can start baking your own fresh loaves. Enjoy your baking journey and happy baking!
Frequently Asked Questions
Is there a sourdough that is gluten-free?
Yes, there is gluten free sourdough bread. It’s made using gluten-free flours and a special starter. This version of sourdough will have a tangy flavor, just like regular sourdough.
What bread is naturally gluten-free?
Some breads are made from naturally gluten free ingredients. These include breads made with rice flour, corn flour, or tapioca flour. Keep an eye on the ingredient list. Sometimes additives can contain gluten.
Is sourdough bread healthier?
Sourdough fermentation may help make it easier to digest. Also, it may have a lower effect on blood sugar. This can provide some health benefits.
What is the trick to making good gluten-free bread?
The trick to making good gluten-free bread is to use the right blend of flours and starches. Also, pay attention to your starter. Proper hydration and resting of the dough are also key. Patience and practice are crucial

